Mastering Fastener Selection and Installation for Professional Tool Mounting Plates
Introduction to Secure Tool Mounting
Fasteners are the critical link between your mounting plate and the tools it carries. On the road or jobsite, vibration, shock loads, and temperature swings act on that joint. Selecting the right tool mounting plate fasteners—and installing them correctly—prevents loosening, misalignment, and premature wear.
Focus on the load path. Most plates see a mix of shear (side loads) and tensile (pullout) forces. Choose secure tool mounting hardware that handles both:
Size and grade: Metric M6/M8 (8.8 or 10.9) and imperial 1/4-20 or 5/16-18 (Grade 5 or 8) cover most professional tool storage loads. Example: M8-1.25 Grade 10.9 button heads with flanged nyloc nuts for high-vibration service.
Material: Zinc-plated or black-oxide alloy steel offers high strength at low profile. 18-8 or 316 stainless resists corrosion but can gall; use anti-seize and avoid stainless-on-stainless threads.
Corrosion pairing: Prevent galvanic corrosion between stainless fasteners and aluminum plates by using isolating washers or zinc-plated hardware.
Distribute load and maintain clamp force:
Washers: Use fender or large OD washers on thin sheet or composite panels. Serrated flange nuts/washers improve bite where coatings are present.
Backing plates: For thin lids or drawer tops, add a steel or aluminum backing plate to spread shear loads.
Thread engagement: Aim for 1–1.5× fastener diameter minimum in steel; more in aluminum. Avoid bottoming fasteners in blind holes.
Mounting plate installation tips:
Prep: Deburr holes; break coating at the fastener interface if necessary to prevent creep. Protect bare metal with primer after fitment.
Locking: Blue threadlocker for serviceable joints; red only where disassembly is unlikely. Nyloc nuts are a reliable alternative in high vibration.
Torque: Follow manufacturer specs for the chosen grade and size. Re-torque after the first day of use, then inspect monthly.
Thin-wall installs: Use rivnuts (nutserts) sized correctly for grip range; set with a quality tool to avoid spin-out. Consider key-locked inserts for repeated service.
If fabricating from instant-download DXF files, confirm final hole sizes after powder coat; a 0.1–0.2 mm buildup can tighten fit. For the best fasteners tool storage outcomes, choose heavy duty mounting hardware matched to your plate’s pattern, load, and environment, and verify clearances to preserve low-profile, secure designs.
Importance of Correct Fasteners
The right tool mounting plate fasteners are as critical as the plate itself. In transport, vibration and sudden stops can multiply loads, so undersized or incorrect hardware leads to loosening, misalignment, or failure that puts tools—and people—at risk.
What to prioritize when choosing fasteners for durability and safety:
Strength and size: Match diameter and grade to expected shear and tensile loads. For heavy duty mounting hardware, use at least SAE Grade 5/Grade 8 or metric 8.8/10.9 where appropriate. As a quick check, a 40 lb tool can see ~3× dynamic load during braking; four bolts would share ~120 lb, or ~30 lb each in shear.
Corrosion resistance: In damp or salty environments, stainless (18-8/304) resists rust; zinc or zinc-nickel plated steel works well inland. Avoid galvanic corrosion—stainless bolts in aluminum may require nylon/phenolic washers or anti-seize, and keep coatings intact.
Thread engagement: Aim for engagement equal to the bolt diameter in steel; 1.5× in aluminum. In thin sheet, install rivet nuts/plus nuts instead of sheet-metal screws. In wood, use through-bolts with T-nuts or inserts rather than lag screws where possible.
Locking methods: For secure tool mounting hardware in high-vibration use, combine nylon-insert or all-metal lock nuts with medium-strength threadlocker. Serrated flange washers add friction without marring when placed against a sacrificial washer.
Head style and clearance: Choose countersunk or low-profile button heads to preserve the low profile of the plate and avoid snag points. Match countersink angle to the hardware—82° (imperial) vs 90° (metric)—to maximize bearing area.
Load distribution: Use fender washers or backing plates on plywood/composite panels to spread load and protect finishes.
Mounting plate installation tips that prevent callbacks:
Deburr holes, clean threads, and protect the powder coat with flat washers under bolt heads. Avoid over-torque that crushes coatings or distorts slots.
Maintain edge distance of at least 1.5× bolt diameter; don’t place fasteners too close to panel edges.
For extrusions (8020/T-slot) and Unistrut, use rated T-nuts or spring nuts, not generic hardware.
Re-torque after the first week of service; inspect seasonally for movement or corrosion.
For theft deterrence, consider tamper-resistant Torx/hex-pin heads where accessible.
Fabricating from DXF? Confirm hole sizes against your chosen hardware and account for kerf and finishing build-up. Accurate holes yield the best fasteners for tool storage performance and a secure, long-lasting installation.
Understanding Mounting Plate Materials
The material of your mounting plate directly shapes the selection of tool mounting plate fasteners, how loads transfer, and how your installation survives vibration, weather, and daily abuse.
Powder‑coated carbon steel
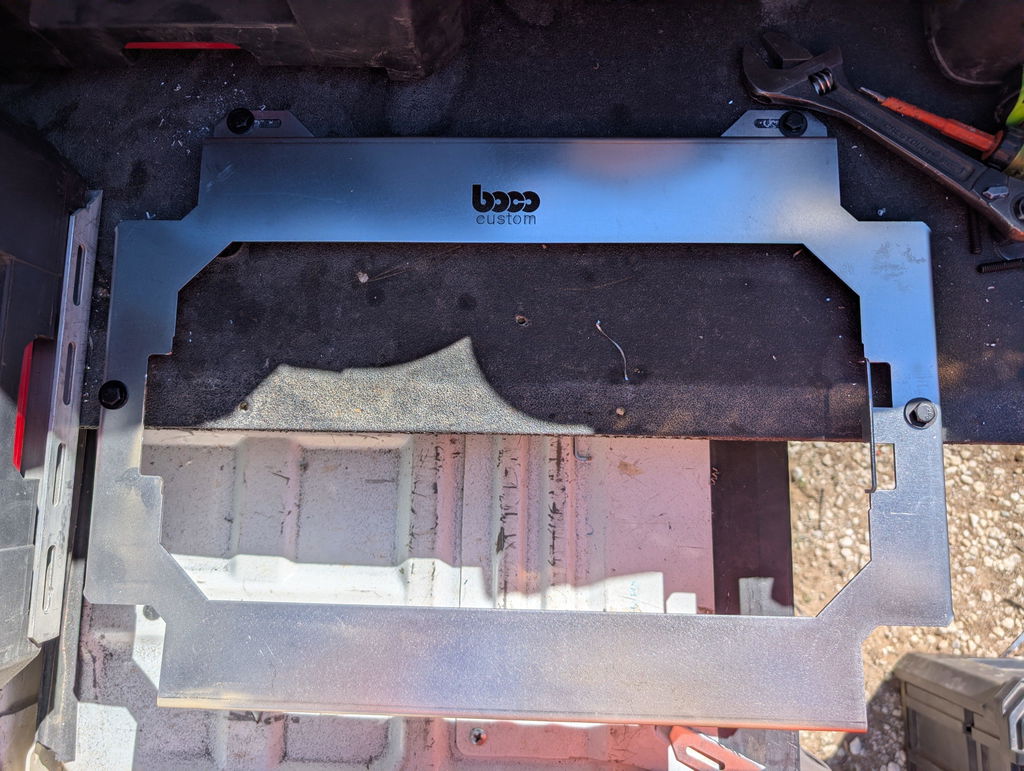
Most heavy-duty mounting hardware is happiest on steel. Boco Custom’s low‑profile plates are laser‑cut steel and powder‑coated, offering high shear capacity and minimal flex.
Use through‑bolting with Grade 5 or Grade 8 1/4‑20 or M6 hardware, paired with nylock or all‑metal lock nuts and fender washers to spread load.
Avoid tapping threads in thin plate; 1/4‑20 needs roughly 0.25 in (6.3 mm) of full thread engagement. Through‑bolts or rivnuts are more reliable.
After coating, chase holes if needed to remove powder overspray and prevent clamping torque loss.
Stainless steel
Great corrosion resistance, but higher galling risk with stainless fasteners. Use anti‑seize on threads and prefer A2‑70/A4‑70 with nylocks.
If fastening to dissimilar metals (vehicle body, aluminum rails), isolate with nylon or EPDM washers to limit galvanic corrosion.
Aluminum
Lighter and easier to machine, but lower bearing strength. Increase washer size or add backing plates.
Install rivnuts/plusnuts in the correct grip range; ribbed or hex‑body styles resist spin‑out. Consider M6 8.8 bolts with serrated flange nuts for secure tool mounting hardware.
Isolate stainless/aluminum interfaces with coating, nylon washers, or dielectric compound.
Use through‑bolts with large backing plates for pull‑through protection. Lag screws alone are not the best fasteners for tool storage under dynamic loads.
Seal penetrations to prevent moisture ingress.
Hole styles and interfaces
Countersunk holes must match fastener angle (82° vs 90°). For slotted systems (e.g., Packout adapters), use flange bolts to maximize bearing.
PEM/clinch nuts and weld nuts deliver low‑profile, serviceable threads in steel plates where backside access is limited.
Mounting plate installation tips
Prioritize shear paths; align bolts to take lateral loads, not just tension.
Use threadlocker where vibration is severe; nylocks for serviceable joints.
Verify torque: as a guide, 1/4‑20 Grade 5 ~8–9 ft‑lb; M6 8.8 ~9–10 N·m. Follow hardware specs.
When choosing fasteners for durability, match material to environment, isolate dissimilar metals, and maximize bearing area.
Selecting material‑appropriate, heavy duty mounting hardware ensures secure, serviceable installations that withstand daily transport.
Key Factors for Fastener Selection
Selecting the right tool mounting plate fasteners directly affects strength, longevity, and safety. Match hardware to the load, substrate, and environment so your plate performs as designed under daily use and road vibration.
Key factors to evaluate:
Load path and rating
- Consider both static and dynamic loads; vehicle vibration and off-road use increase demand.
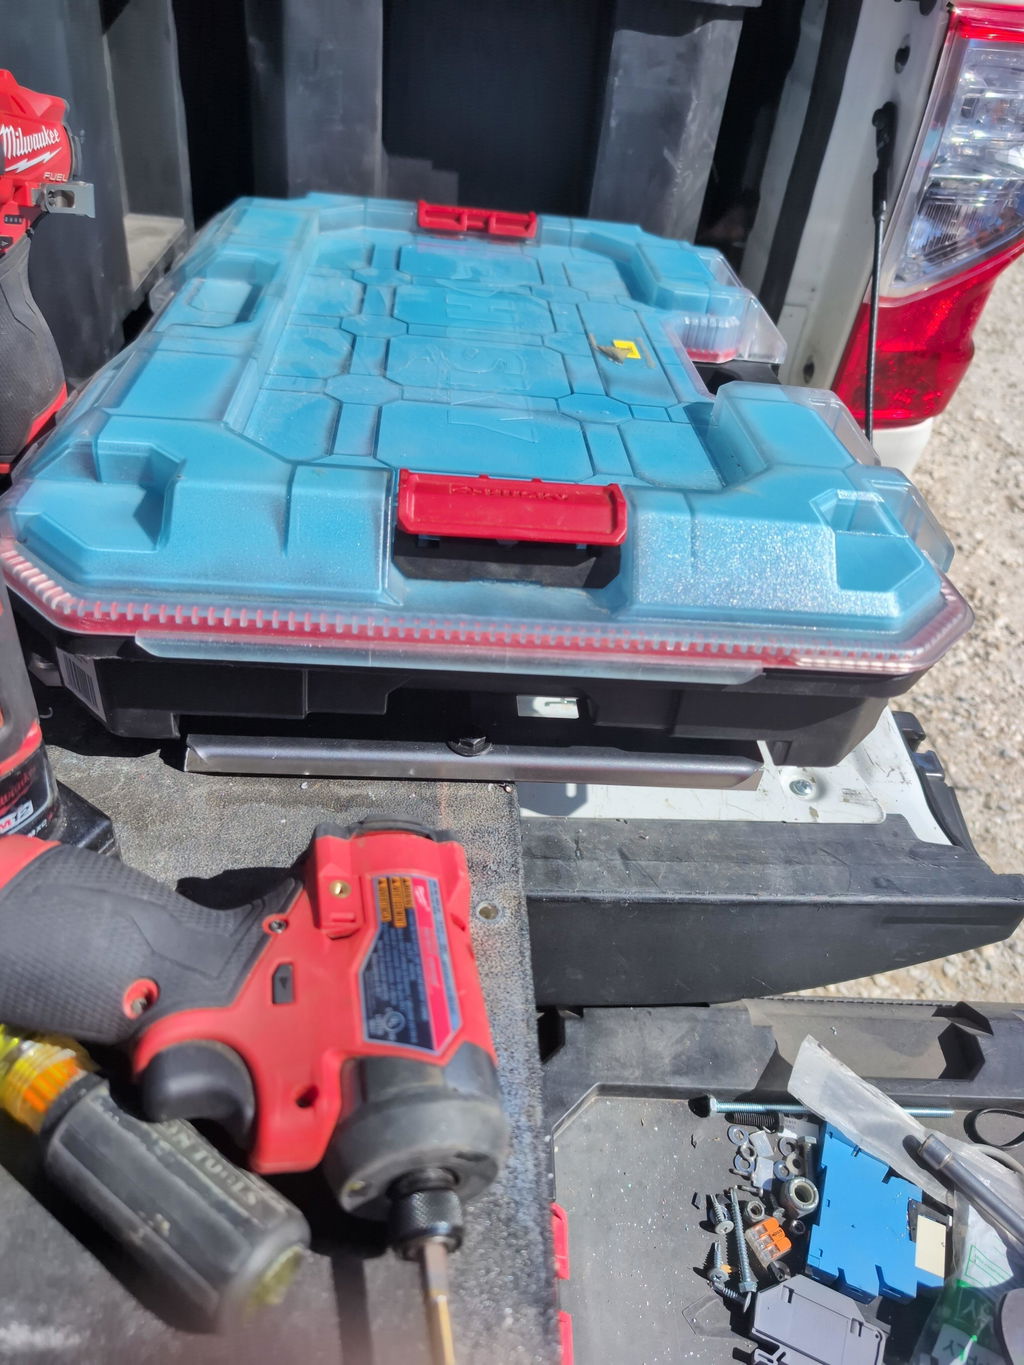
Illustration for Mastering Fastener Selection and Installation for Professional Tool Mounting Plates
- Prioritize shear capacity for horizontal plates and tensile/pull-out for vertical mounts.
- Use a sensible safety factor (2–3x) for secure tool mounting hardware that won’t loosen over time.
Fastener size and grade
- Common, proven choices for heavy duty mounting hardware: 1/4-20 or M6 (general duty), 5/16-18 or M8 (higher loads).
- Match strength to the application: Grade 5/8 (SAE) or 8.8/10.9 (metric) for bolts; avoid low-grade hardware in dynamic installations.
Substrate and anchoring method
- Steel frames: through-bolt where possible for maximum clamp force.
- Thin sheet metal (vehicle bodies, drawers): use rivnuts/plusnuts (M6/M8) with knurled bodies to resist spin-out.
- Plywood or composite: use T-nuts or threaded inserts with fender washers or backing plates to spread load.
- Aim for 1–1.5x diameter of thread engagement in steel, 2x in aluminum/wood.
- Account for plate thickness, backing plates, and washers; avoid bottoming out.
Vibration resistance
- Prefer nylon-insert lock nuts, all-metal lock nuts, or threadlocker (medium strength) over split lock washers.
- Serrated flange nuts/bolts add bite on steel frames; avoid on painted surfaces unless using serration-friendly washers.
Corrosion and durability
- For weather exposure or road salt, 18-8/304 stainless or zinc-nickel plated steel improves longevity; 316 stainless for coastal use.
- Prevent galvanic corrosion on aluminum by isolating stainless with nylon/fiber washers and sealing edges.
- Black oxide is not corrosion resistant; avoid for exterior use.
Head style and profile
- Button or low-profile socket heads reduce snag points in tight storage systems.
- Countersunk hardware requires properly countersunk plates; avoid thinning the plate around the head.
Mounting plate installation tips:
Lay out hole patterns with proper edge distance (≥2x bolt diameter) and symmetrical spacing.
Deburr holes; use backing plates or large-diameter washers on thin substrates.
Apply anti-seize on stainless threads to prevent galling; torque to spec and re-check after initial use.
Seal penetrations in vehicles and wood to block moisture ingress.
With these criteria, you’ll choose the best fasteners for tool storage that align with choosing fasteners for durability and reliable performance of your tool mounting plate fasteners.
Types of Fasteners and Their Uses
Selecting the right tool mounting plate fasteners starts with the base material, load path, and service environment. The goal is secure tool mounting hardware that resists vibration, protects your plate’s powder coat, and keeps profiles low for clean installs.
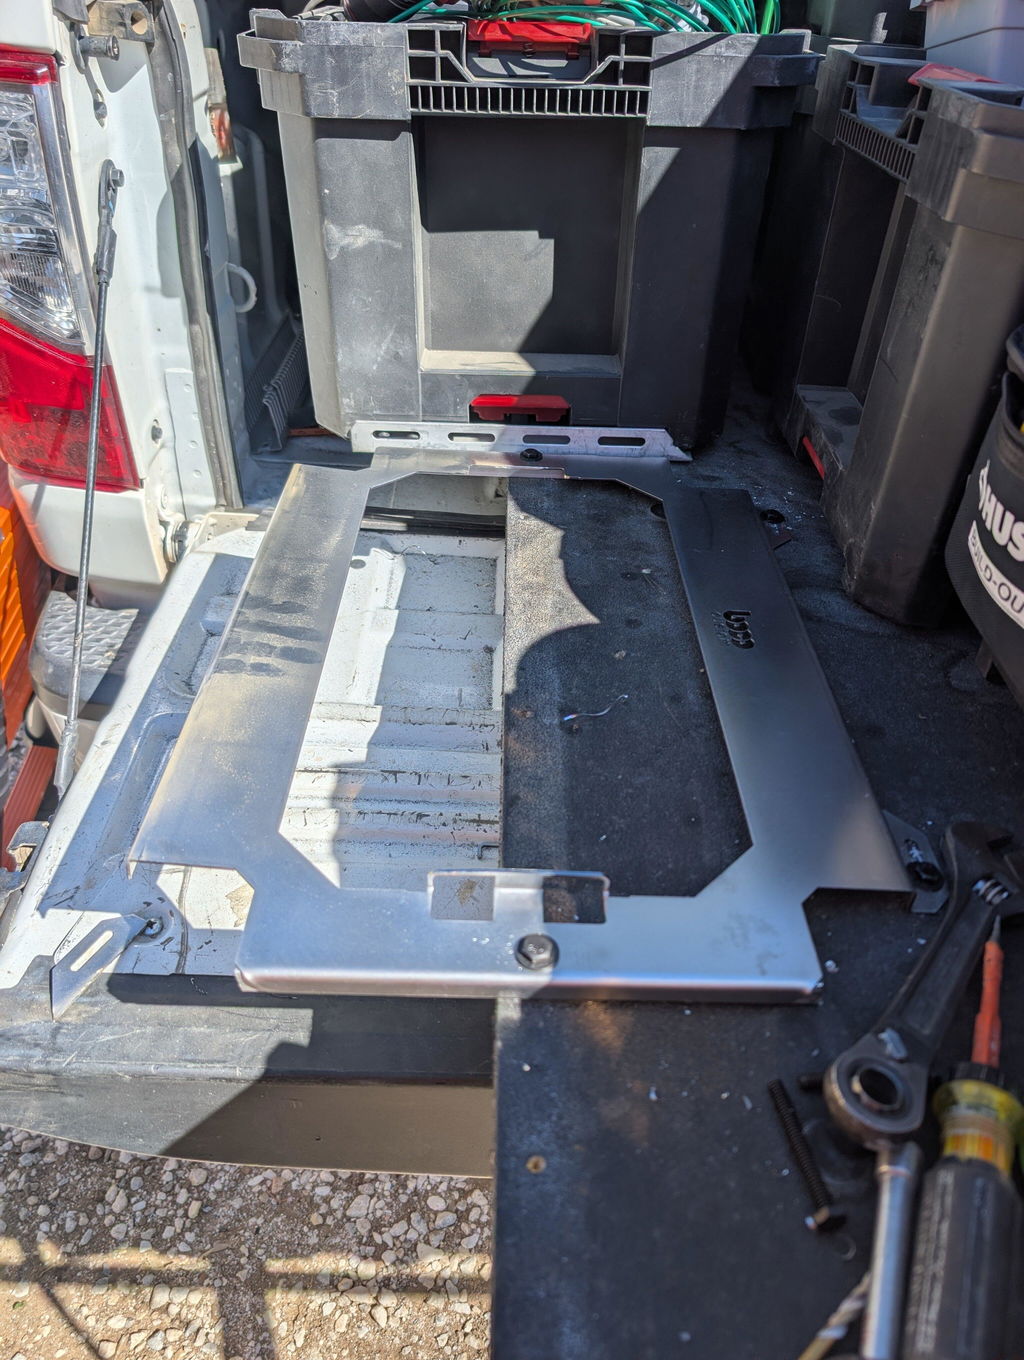
Illustration for Mastering Fastener Selection and Installation for Professional Tool Mounting Plates
Common fastener types and where they excel:
Hex bolts and machine screws (M6, 1/4-20, 5/16-18): The best fasteners for tool storage when you have access to both sides. Pair with flat washers to protect powder coat and nyloc or all-metal lock nuts for vibration. Example: M6 button-heads with nylocs for mounting a Packout-compatible plate to a steel rack.
Rivet nuts (rivnuts): Create strong threads in thin sheet when the backside is inaccessible (van walls, drawer faces). Use M6 or 1/4-20 with serrated-flange bodies to reduce spin-out. Ideal for modular setups you may remove or reposition.
Blind structural rivets: Low-profile, one-sided installs in thin metals where removal is rare. Choose large-flange heads to spread load. Great for brackets and trim where clearance is tight.
Self-drilling/self-tapping screws: Fast and convenient in light-gauge steel or aluminum. Reserve for light to moderate loads; not the first choice for heavy duty mounting hardware or high vibration.
Wood screws, threaded inserts, and lags: For plywood decks and drawers. Threaded inserts or T-nuts with through-bolts beat wood screws for repeated removal. Example: 3/4" birch deck with 1/4-20 bolts and fender washers/backer plates.
Carriage bolts: Smooth, low-profile heads for wood or slotted steel; the square neck prevents spin. Useful where snag-free surfaces matter.
T-slot/Unistrut nuts: Rapid, adjustable mounting to extrusion or strut systems; match with M6/M8 button-heads for a flush finish.
Security fasteners: Pin-in Torx or one-way screws deter theft of mounted tools in exposed environments.
Washers and locking devices: Use flat or fender washers to spread load; rely on nyloc nuts or medium-strength threadlocker over split lock washers. Add spacers or standoffs to clear lids and latches.
Material and durability guidance:
Zinc-plated Grade 8 or Class 10.9 steel provides high strength for steel-to-steel joints.
18-8/316 stainless resists corrosion; apply anti-seize to prevent galling and isolate from aluminum with nylon washers to limit galvanic corrosion.
Aim for thread engagement of at least 1x diameter in steel (1.5x in aluminum, 2x in plastics/wood). Follow torque charts and recheck after a shakedown run.
Mounting plate installation tips: protect the powder coat with washers, use backing plates on thin walls, and choose fasteners for durability based on environment and load. BocoCustom plates and DXF patterns accommodate common M6 and 1/4-20 hardware for streamlined, secure installs.
Pre-Installation Steps and Preparation
Start by defining the load and environment. List every tool or case that will live on the plate, its weight, and how often it’s removed. Add dynamic forces from road vibration or jobsite impact (1.5–2.0x the static load is a practical planning factor). Note exposure: water, salt, chemicals, and temperature swings drive material and coating choices for secure tool mounting hardware.
Verify the substrate. Identify what you’re fastening into: steel, aluminum, composite, plywood, or sheet metal. Measure thickness with calipers; this determines grip length and whether through-bolting, rivnuts, or wood inserts are appropriate. For thin sheet (<2 mm), plan on steel rivnuts or a backing plate; for wood, use through-bolts with fender washers or tee-nuts.
Plan the layout. Use the plate’s hole pattern or a printed template from a DXF to mark centers. Check for interference with drawer slides, Packout feet, vehicle ribs, wiring, airbags, and fuel lines. Dry-fit your system, tape in place, and confirm latch/rail clearances. Mark datum lines so the plate installs square.
Choose materials and grades for durability. Stainless (18‑8/A2) resists corrosion; alloy steel (Grade 5/8 or Class 8.8/10.9) provides higher strength. For aluminum bodies, consider stainless fasteners with nylon or zinc barriers to limit galvanic corrosion. Powder-coated plates help, but add sealant where water can intrude.
Select the right types of tool mounting plate fasteners:
Through-bolts with nyloc or flange nuts: best for tool storage boxes and racks when you can access the backside.
Rivnuts (M6/M8 steel): ideal for closed sections or van sheet metal; use a proper setting tool for consistent clamp.
Wood: use machine bolts with tee-nuts or lag screws rated for the load; avoid coarse drywall/utility screws.
Washers/backers: use fender washers or a spreader plate; aim for a bearing area ≥3× bolt diameter.
Confirm sizing and engagement. Target thread engagement of 1–1.5× diameter in steel and 2× in aluminum. Example: M6 x 1.0 through 3 mm steel with a rivnut; 1/4‑20 with 1/8" backing plate on plywood.
Prepare tools and consumables:
Torque wrench matched to your fasteners (e.g., 7–25 ft‑lb range for M6–M8).
Medium-strength threadlocker for vibration (blue), anti-seize for stainless to avoid galling, and seam sealer for perforations.
These mounting plate installation tips ensure heavy duty mounting hardware is matched to the job from the outset, reducing rework and keeping your setup tight, quiet, and reliable.
Proper Fastener Installation Techniques
Start with a solid base. Clean the substrate and the plate’s contact area, remove burrs, and verify hole sizes against the plate’s spec or DXF. For sheet metal or van panels, deburr both sides to prevent stress risers and paint chipping. If your plate is powder-coated, use flat or flange washers to spread load so the coating doesn’t crush and flake.
Choose the right tool mounting plate fasteners for the environment and load. In dry shop settings, zinc-plated Grade 5/8 bolts are common heavy duty mounting hardware. In vehicles or coastal areas, stainless (A2/A4) resists corrosion, but use anti-seize to prevent galling and consider isolation washers if mating to aluminum to reduce galvanic corrosion. For wood/composite substrates, through-bolt with fender washers or use T-nuts/insert nuts rather than screws alone.
Match the fastener type to how the load is applied. Shear-heavy setups (plates carrying bins on a vertical wall) benefit from larger shank diameter and multiple fasteners spaced across the top edge. Tension-heavy setups (overhead racks) call for through-bolts and backing plates. As a rule of thumb, keep minimum edge distance at 1.5–2x the fastener diameter and use at least four fasteners, adding more for long plates (e.g., every 6–8 inches).
Aim for proper thread engagement. Target 1–1.5x the fastener diameter of engaged threads in steel, 2x in aluminum. If you can’t achieve that, switch to a longer bolt, add a nut, or install a rivet nut with the correct grip range for your panel thickness.
Use secure tool mounting hardware to control vibration. Options include:
Nylon-insert locknuts or all-metal locknuts for serviceable joints
Medium-strength threadlocker (blue) for removable joints; high-strength (red) only for permanent installs
Serrated flange nuts where backing access is limited
Avoid relying on split lock washers alone.
Apply torque deliberately. Use a calibrated torque wrench and a cross pattern on multi-bolt plates. Tighten in stages, then recheck after the first day of use or 50–100 road miles. Over-torque risks crushing thin panels and distorting the plate; under-torque invites fretting and loosening.
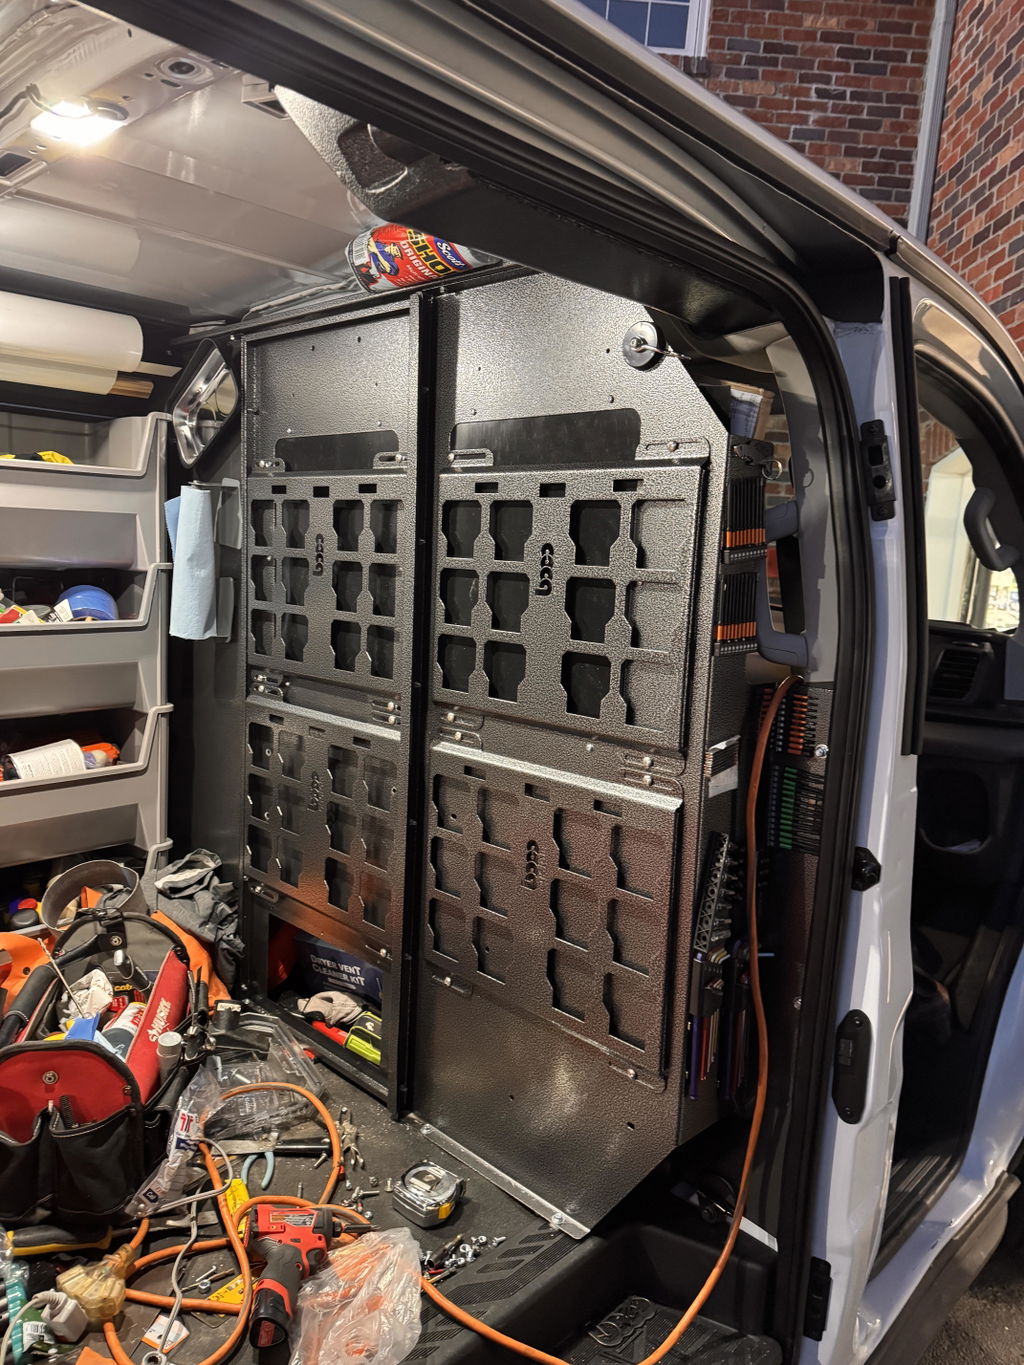
Practical example: mounting to a van bulkhead. Install M6 or 1/4-inch rivet nuts sized to the panel’s thickness, add a thin backing strip where possible, use stainless bolts with flat and lock washers, medium threadlocker, and verify re-torque after loading. These mounting plate installation tips maximize durability and keep the best fasteners for tool storage secure over the long haul.
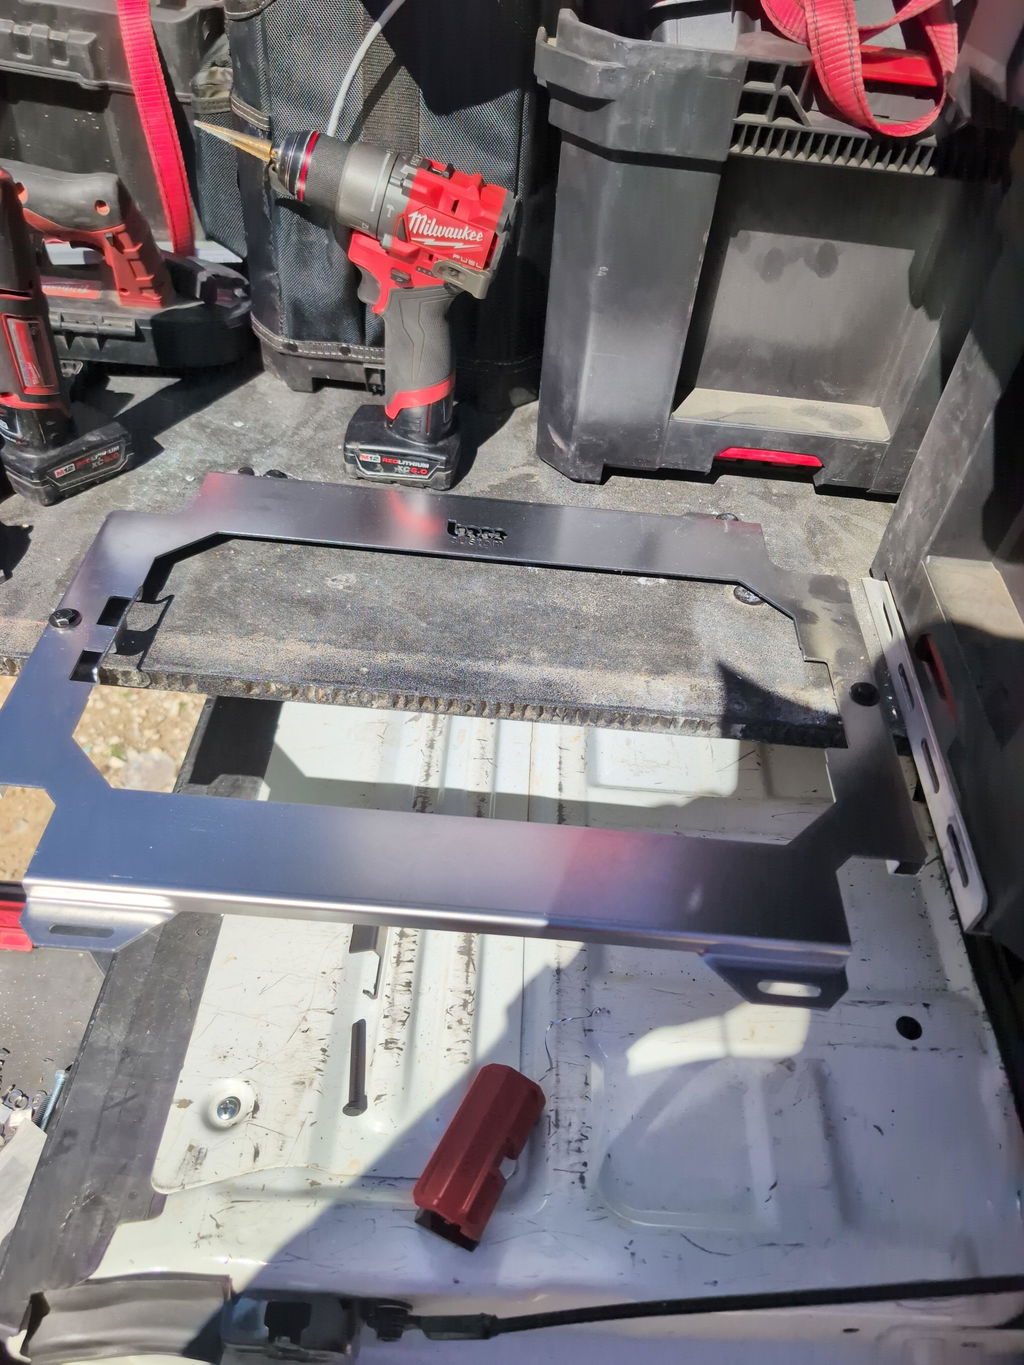
Illustration for Mastering Fastener Selection and Installation for Professional Tool Mounting Plates
Ensuring Vibration-Resistant Attachment
Vibration loosens joints when preload is too low, surfaces can creep, or threads aren’t locked. Start by choosing tool mounting plate fasteners that deliver high clamp force and maintain it over time, then install them to spec on clean, flat mating surfaces.
Select by substrate and load path:
Steel or aluminum frames: Through-bolt with Grade 5 or Grade 8 bolts, flat washers under the head and nut, and a nylon-insert or all-metal lock nut. Keep the unthreaded shank across any shear plane; avoid threads bearing shear.
Thin vehicle sheet metal: Use steel rivet nuts (proper grip range) and pair with serrated flange screws or threadlocker. Where possible, add a backing plate spanning multiple ribs for load distribution.
Plywood/composites in vans and trailers: Carriage bolts or structural screws with large fender washers and a steel backing strip on the hidden side. Anchor into structural members, not just panel skins.
Masonry: Wedge anchors or concrete screw anchors sized for the plate and load.
Fastener material and grade matter. For heavy duty mounting hardware in mobile environments, Grade 5 is a solid baseline; move to Grade 8 for higher clamp loads (verify substrate can handle it). Use zinc-plated carbon steel for most interiors; use 300-series stainless where corrosion or salt is a concern, and isolate from dissimilar metals to limit galvanic corrosion. If you’re choosing fasteners for durability on powder-coated parts, consider de-coating small washer footprints or use serrated washers to bite through coating for consistent preload.
Locking methods that work under vibration:
Nylon-insert lock nuts (reliable up to moderate heat)
All-metal prevailing torque lock nuts (better at higher temps)
Wedge-lock washers (e.g., Nord-Lock) for severe vibration
Medium-strength threadlocker (e.g., oil-tolerant 243) on clean, dry threads
Avoid relying on split lock washers alone.
Mind head style and clearance. Low-profile button heads or countersunk screws (when the plate provides countersinks) prevent interference with cases, rails, or drawers in tool storage systems. Match the hardware to the plate’s hole size and pattern for secure tool mounting hardware that seats properly.
Mounting plate installation tips:
Deburr holes; ensure flat, clean faying surfaces.
Use correct length: 1–3 threads past the nut.
Tighten in a cross-pattern to reach target torque/preload.
Recheck torque after initial service and at regular intervals, especially in trailers or service trucks.
For fabricators using instant-download DXF files, keep hole tolerances tight and include backing plates where needed to spread load.
Common Installation Errors to Avoid
Using the wrong components or techniques can undermine even the most robust plate. Watch for these frequent mistakes when selecting and installing tool mounting plate fasteners:
Choosing the wrong fastener type for the substrate. Sheet-metal screws in thin steel cabinets can strip; switch to rivet nuts or plus nuts with machine screws. In plywood or MDF drawers, use wood screws with large fender washers or through-bolts with backing plates to spread load.
Mismatched materials that accelerate corrosion. Mixing stainless screws with plain carbon-steel toolboxes can cause galvanic corrosion in damp environments. When choosing fasteners for durability, match materials or isolate with nylon washers and use anti-corrosion coatings.
Undersized or overlong hardware. Too-short screws barely engage threads; too-long screws can pierce drawer liners or contact electrical runs. As a rule, target 1–1.5× diameter of thread engagement in metal, 2–3× in wood.
Ignoring shear vs tension. Countersunk screws concentrate load and are poor in slotted shear applications. For secure tool mounting hardware in slotted plates, use pan or button heads with full shank support and appropriate washers.
Skipping load distribution. Heavy tool loads can dent thin cabinet skins. Add backing plates, large-diameter washers, or doubler plates behind the surface to prevent pull-through and vibration loosening.
Over- or under-torque. Over-torquing can crush aluminum drawers or crack powder coat; under-torquing invites loosening. Follow torque charts by size and grade (e.g., Grade 5 vs Grade 8 vs A2/A4 stainless). Protect powder-coated surfaces with flat washers.
Reusing nylon-insert lock nuts. Nylocks are single-use for critical assemblies; replace them after removal. For heat-prone areas, choose all-metal lock nuts. Where service access matters, apply medium-strength threadlocker instead.
Poor hole prep. Drilling without deburring or squaring the stack causes misalignment and high clamp friction. Deburr both sides; seal exposed edges in wood to prevent swelling.
Incorrect rivet nut installation. Under-crimped rivet nuts spin; over-crimped ones distort and lose grip. Use the correct mandrel, set to the material thickness, and verify pull-out strength with a test piece.
Neglecting vibration control. The best fasteners for tool storage in mobile setups use lock nuts or threadlocker, spring or Nord-Lock washers, and periodic re-torque checks.
Disregarding system design. If a plate is engineered for low-profile pan-head bolts, swapping to tall hex heads can interfere with drawers or cases. Match head style and washer stack to maintain clearance.
These mounting plate installation tips help ensure heavy duty mounting hardware performs as intended. Select quality tool mounting plate fasteners, confirm compatibility with your storage system, and test-fit under load before final tightening.
Maintaining Secure Tool Organization
Keeping tools locked down starts with selecting the right tool mounting plate fasteners and continues with routine checks that prevent loosening, corrosion, and wear. Jobsite vibration, temperature swings, and repeated loading can back off hardware over time—so plan for maintenance from day one.
Prioritize fastener retention. For vibration-prone setups, pair alloy steel bolts with nylon-insert lock nuts, serrated flange nuts, or blue threadlocker (Loctite 242). Reserve red threadlocker (271) for permanent assemblies. Where you need frequent removal, use prevailing-torque lock nuts rather than adhesives.
Choose materials for the environment. Stainless (18-8/304) resists corrosion in vans exposed to road salt but has lower tensile strength than class 10.9/Grade 8 alloy steel. If you choose stainless, apply anti-seize to prevent galling. For maximum strength, use zinc-flake or zinc-nickel–coated alloy steel as heavy duty mounting hardware and protect exposed metal with touch-up paint.
Spread the load. Use large-OD fender washers or backing plates on thin sheet metal, plywood, or polymer lids to prevent pull-through. In aluminum bodies, isolate dissimilar metals with nylon spacers or EPDM washers to reduce galvanic corrosion.
Mounting plate installation tips:
Verify hole size and edge distance. Maintain at least 2× fastener diameter from any edge to avoid tear-out.
Use rivet nuts for thin panels. Choose knurled, full-hex rivet nuts with the correct grip range to resist spin-out.
Torque accurately. Typical values: 1/4-20 Grade 5 bolts at 80–120 in-lb; M6 class 10.9 at 7–10 ft-lb. Always confirm with manufacturer data.
Mark fasteners with torque paint so visual checks reveal movement.
Protect coatings. On powder-coated plates, use flat or bonded washers to avoid marring; touch up chips to prevent corrosion.
Examples that work:
Van wall: 1/4-20 steel rivet nuts, serrated flange bolts with blue threadlocker, 1.25 in OD fender washers inside the panel.
Workbench drawer: M6-1.0 class 10.9 bolts into nut plates with nylon lock nuts for repeat access.
Routine checklist for secure tool mounting hardware:
After the first week of service, re-torque all hardware; then inspect monthly.
Check for elongated holes, cracked washers, or backed-off nuts; replace on the spot.
Clean debris from slots and threads; grit accelerates wear.
Record fastener sizes and torque targets on a label inside the cabinet for quick reference.
Consistency with the best fasteners tool storage practices—plus periodic inspections—keeps plates tight, powder coat intact, and tools secure for the long haul.
Standard shipping takes 5 to 7 business days. Express (2 to 3 days) and overnight options are available at checkout. Orders over $50 ship free.
Can I order online and pick up in store?
Yes. Select "Pick up in store" at checkout and choose your nearest location. Most orders are ready within 2 hours.
What if my order arrives damaged?
Contact us within 7 days of delivery with your order number and a photo. We'll arrange a replacement or refund, no return shipping required.
AI-Generated Content Disclosure
This blog post was created with the assistance of RankGPT, an AI-powered tool designed to generate high-quality, SEO-optimized content at scale.
As a small business embracing modern technology, we use AI to help us:
Produce informative articles more efficiently
Increase our online visibility through better performance in traditional search engines (like Google) as well as emerging AI-powered searches and answer engines
Reach more potential customers and grow our presence in a competitive digital landscape
By leveraging tools like RankGPT, we're able to publish valuable content more consistently and scale our efforts in ways that would otherwise take significantly more time and resources.
Important notes for readers:
While RankGPT helps create well-structured and relevant content based on current best practices, AI-generated posts are not always 100% accurate, complete, or free from errors.
The information, opinions, and perspectives expressed may not fully reflect the exact views, experiences, or official positions of Boco Custom, its team members, or the individuals involved in our business.
AI content should be viewed as a starting point or general resource—not as personalized professional advice, definitive facts, or a substitute for direct consultation with us or qualified experts.
We always recommend verifying important details independently, especially for decisions related to custom products, services, or any business matters.
We are committed to transparency and continually work to improve our content. If you have questions, feedback, or spot any inaccuracies, please reach out—we genuinely appreciate it!
Not only is this way overbuilt for the price with its solid, confident craftsmanship, I am completely convinced that these guys are the best around when it comes to the packout platform.
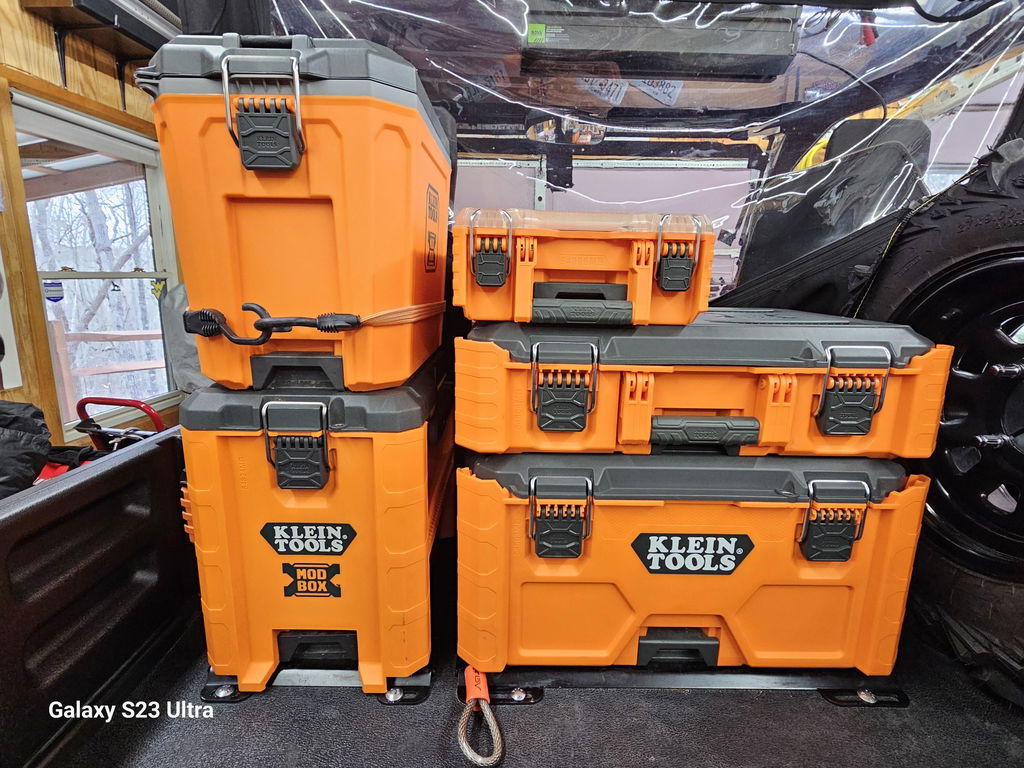
I like these, they are much more compact than what Milwaukee offers. I had them powder coated in silver vain and they look awesome. I love the bonus half rack they sent me. That’s the mark of a nice company.


Dejar un comentario